Table of Contents
Want to know HOW TO INSTALL WORDPRESS ON XAMPP Locally then you are at the right place. This is a great idea if you want a development site that can be used for testing or other purposes. XAMPP lets you run a website from your very own computer. And once you get it set up, you can spin up a new WordPress install with just a few clicks.
What is Xampp?
XAMPP is a free and open-source crossplatform web server solution stack package developed by Apache Friends, consisting mainly of the Apache HTTP Server, MariaDB database, and interpreters for scripts written in the PHP and Perl programming languages.
What is WordPress?
WordPress is a free and open-source content management system written in PHP and paired with a MySQL or MariaDB database
Installation of xampp
Step 1 : Open the XAMPP site. Go to https://www.apachefriends.org/index.html in your PC’s internet browser.
Step 2: Depending on your operating system,download the version of the xampp that is suitable for you.
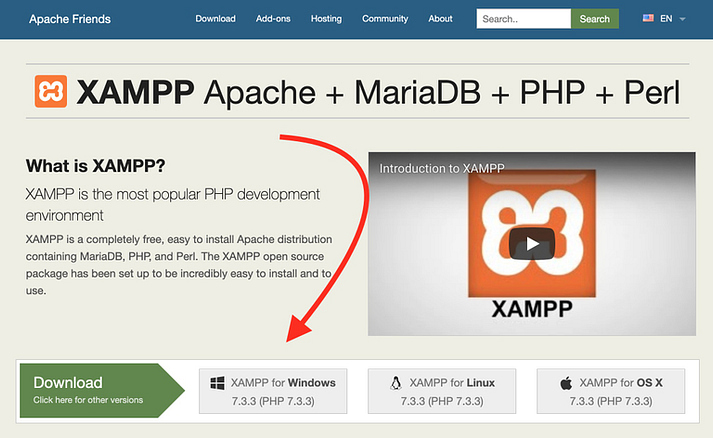
Step 3:After download completed ,you get a file name something like xampp-win32-7.2.4-0-VC15-installer, Just by double-click the download to installation will begin on your system.
Note :REMEMBER THE DIRECTOR LOCATION WHERE YOU INSTALLED THE XAMPP.
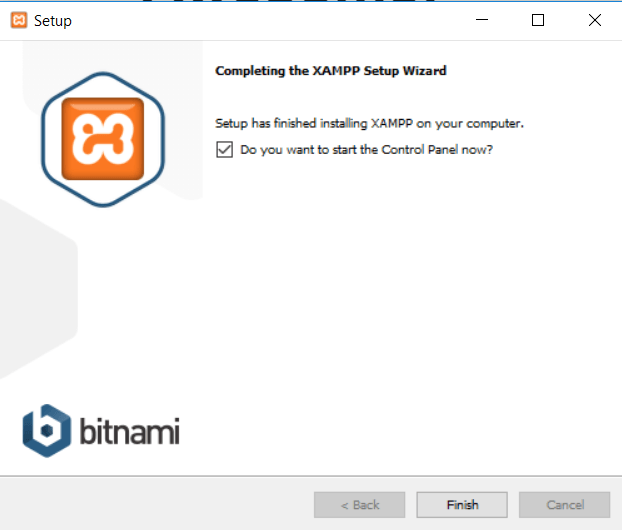
Once it finishes, you can launch the control panel to start working with XAMPP.
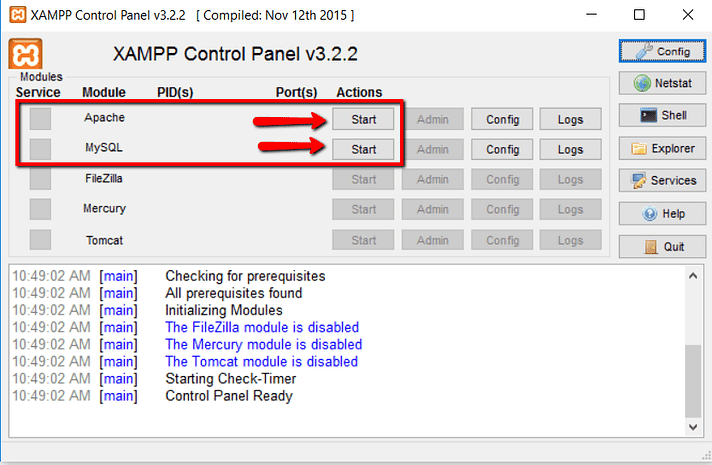
Step 4:Start the modules and test your server
To install XAMPP and WordPress properly, you’ll need to run two modules:
- Apache
- MySQL
To start these module got to XAMPP control panel .
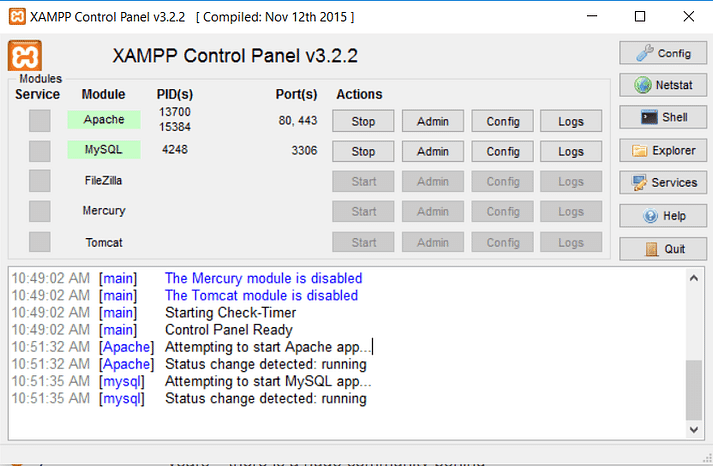
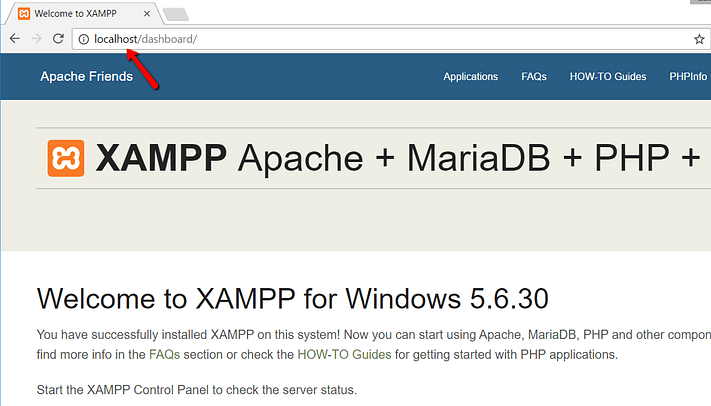
Once you launch them, you should see their status turn to green.That means your server is launched successfully.
You can check it through your browser ,Goto browser type http://localhost/ .
now,its time to install the wordpress.
Installation of WordPress
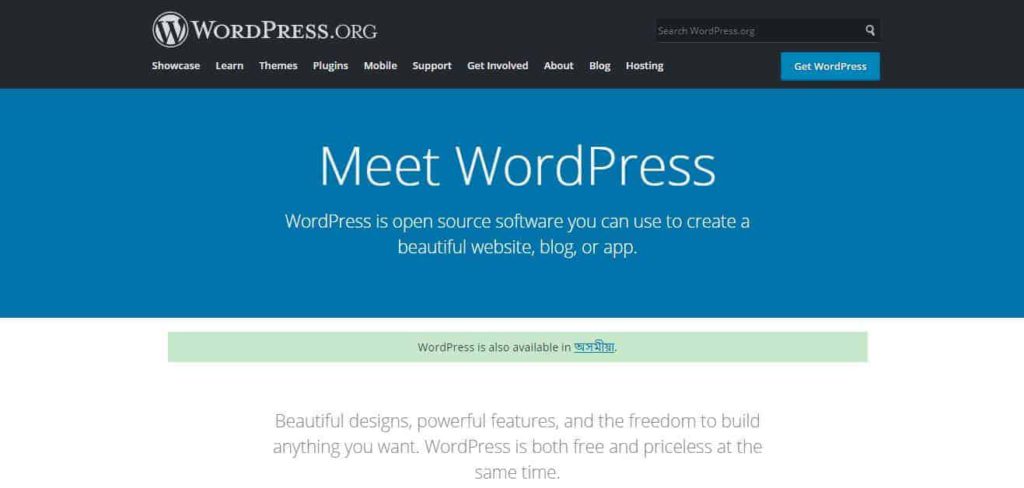
Step 1: First, you need to go to wordpress.org and download the latest version of WordPress.
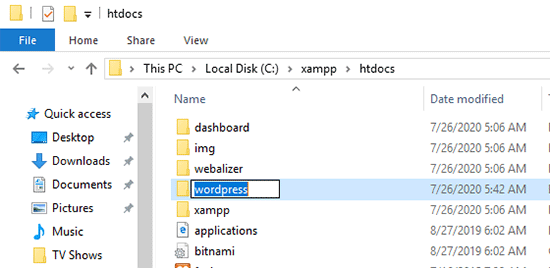
Step 2: Now Goto directory where you have installed XAMPP ,in my case that’s C://xampp. It may beas mine for you sometimes. Then, in that folder, find the htdocs subfolder:
On Windows it would be C:/Program Files/XAMPP/htdocs or C:/Xampp/htdocs folder.
On Mac, it will be /Applications/XAMPP/htdocs folder.
Paste the wordpress folder you copied earlier inside htdocs.
We recommend renaming the wordpress folder to websites or anything else. This will help you easily identify your local site.
Step 3: Next, you need to open your favorite web browser and enter the following URL in your browser’s address bar.
If you renamed the WordPress folder something else, then replace website1 with your own folder name.
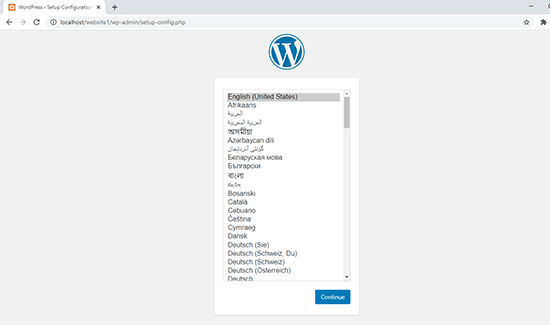
This will load the WordPress installation wizard and you’ll be asked to select a language. After selecting a language, click on the ‘Continue’ button.
On the next screen, you will see a notice that WordPress needs a database name, database username, password, and host information.
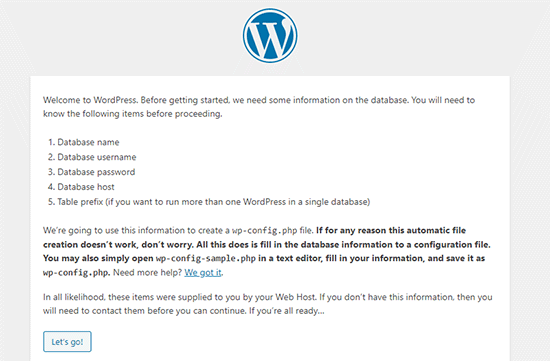
Let’s create a database for your WordPress site.
You’ll need to open a new browser tab and visit https://localhost/phpmyadmin/.
This will launch the phpMyAdmin app that comes pre-installed with XAMPP. It allows you to easily manage your databases using a simpler interface.
You would need to click on Databases, and provide a name for your new database. After that, click on the ‘Create’ button to continue.
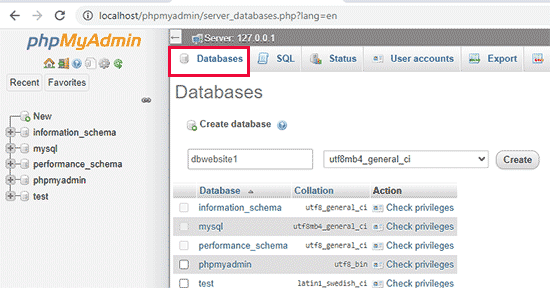
Now that you have created a database, you can use it for your WordPress site.
Switch back to /localhost/website1/ browser tab and click on the ‘Let’s Go’ button.
On the next screen, you will be asked to provide your WordPress database information.
Enter the database name you created earlier. Your username is ‘root’ and you should leave the password field blank. For the database host field, you need to use localhost.
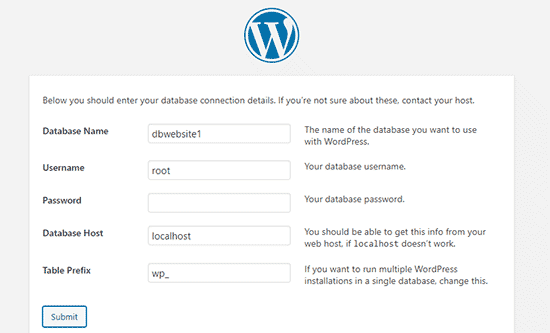
Once you are done, click on the ‘Submit’ button to continue.
If you are on Windows or Linux, WordPress will now store these settings in your WordPress configuration file called wp-config.php file.
However, if you are on Mac, then it will show you the contents of the file and will ask you to create it.
You will need to create this file in your website’s root folder.
After creating the file, paste the text you copied earlier inside it. Next, you need to save the file and return back to WordPress installer to continue.
In the next step, WordPress will ask you to provide information about your website. First, enter the title you want to use for this site.
After that, you need to enter a username, password, and email address for your admin account.
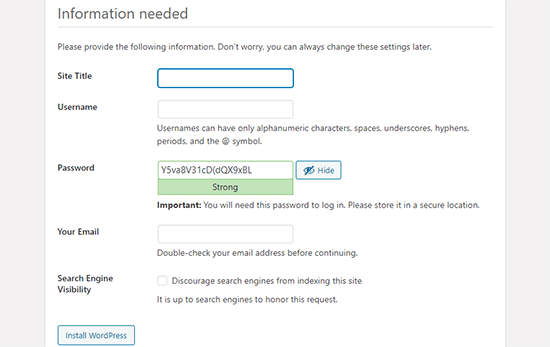
Once you have filled all the information, click on the ‘Install WordPress’ button to continue.
WordPress will now run the installation and prompt you to log in once it’s done.
You can login to your website by going to /localhost/website1/wp-admin page and use the username / password that you entered during installation to login.
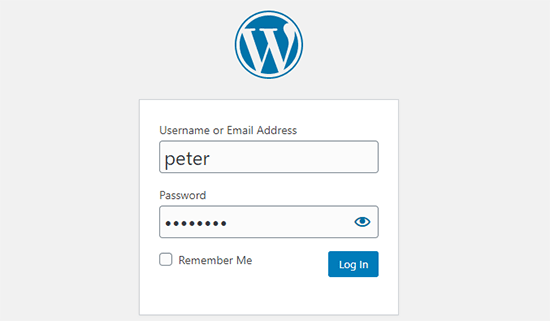
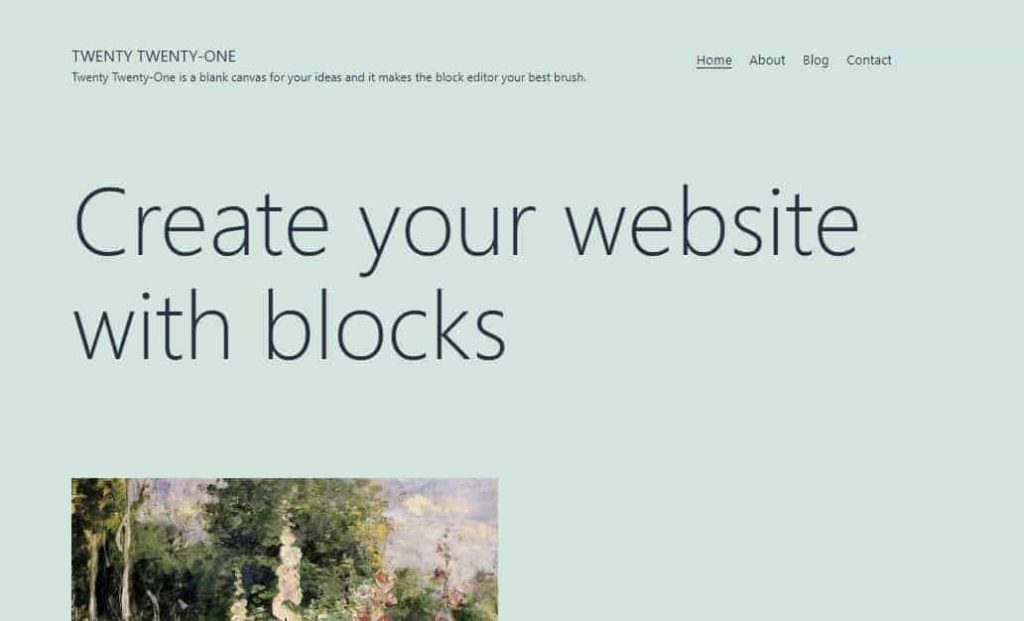
Once you complete the process, you should see your brand new WordPress install running perfectly on your local host ,and you are see your website running successfully at https://localhost/website1/
Hope this tutorial on how to install WordPress is helpful for you. Share with your friends and tell them about WordPress .
